Business Development Agreements (BDAs) play a key role in managing vendor collaborations, rebate programs, and promotional activities within Dynamics 365. By standardizing how agreements are created, tracked, and calculated, organizations can ensure transparency and control across their procurement and sourcing operations. This article takes a practical look at how BDAs are implemented and maintained in the system, outlining the steps involved from setup to reporting.
In continuation of Part 1 on BDA automation in Dynamics 365, which explored the purpose, setup, and key features of BDAs, this blog focuses on the hands-on process, covering creation, management, updates, and rebate calculations.
BDA agreement creation in D365: How to get started?
There are two ways of creating a BDA agreement.
- Manually
- BDA Bulk Import.
Option 1: Getting started with BDA manually
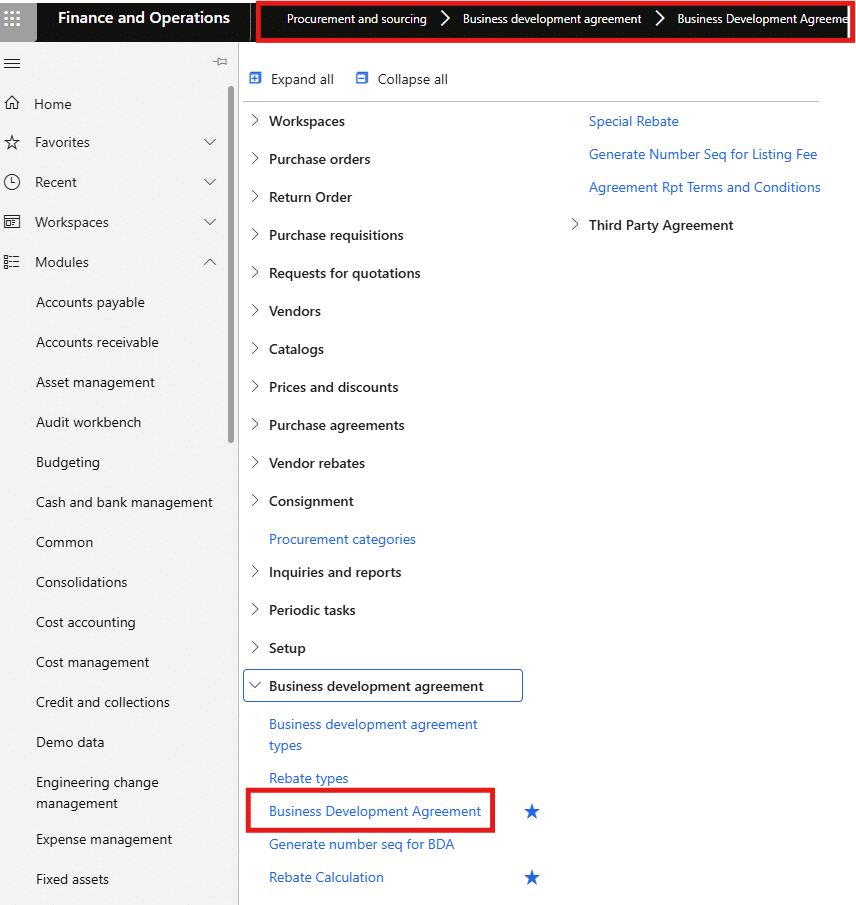
After completing all necessary setups and creating the BDA and rebate types, you can proceed to create the BDA using the following navigation:
Procurement and Sourcing Module > BDA > Business Development Agreement
You are taken to the list page where all existing BDAs are shown in a tabular view.
To create a new BDA, click the “New” button on the top toolbar. This action opens a new form for entering the header details of the Business Development Agreement.
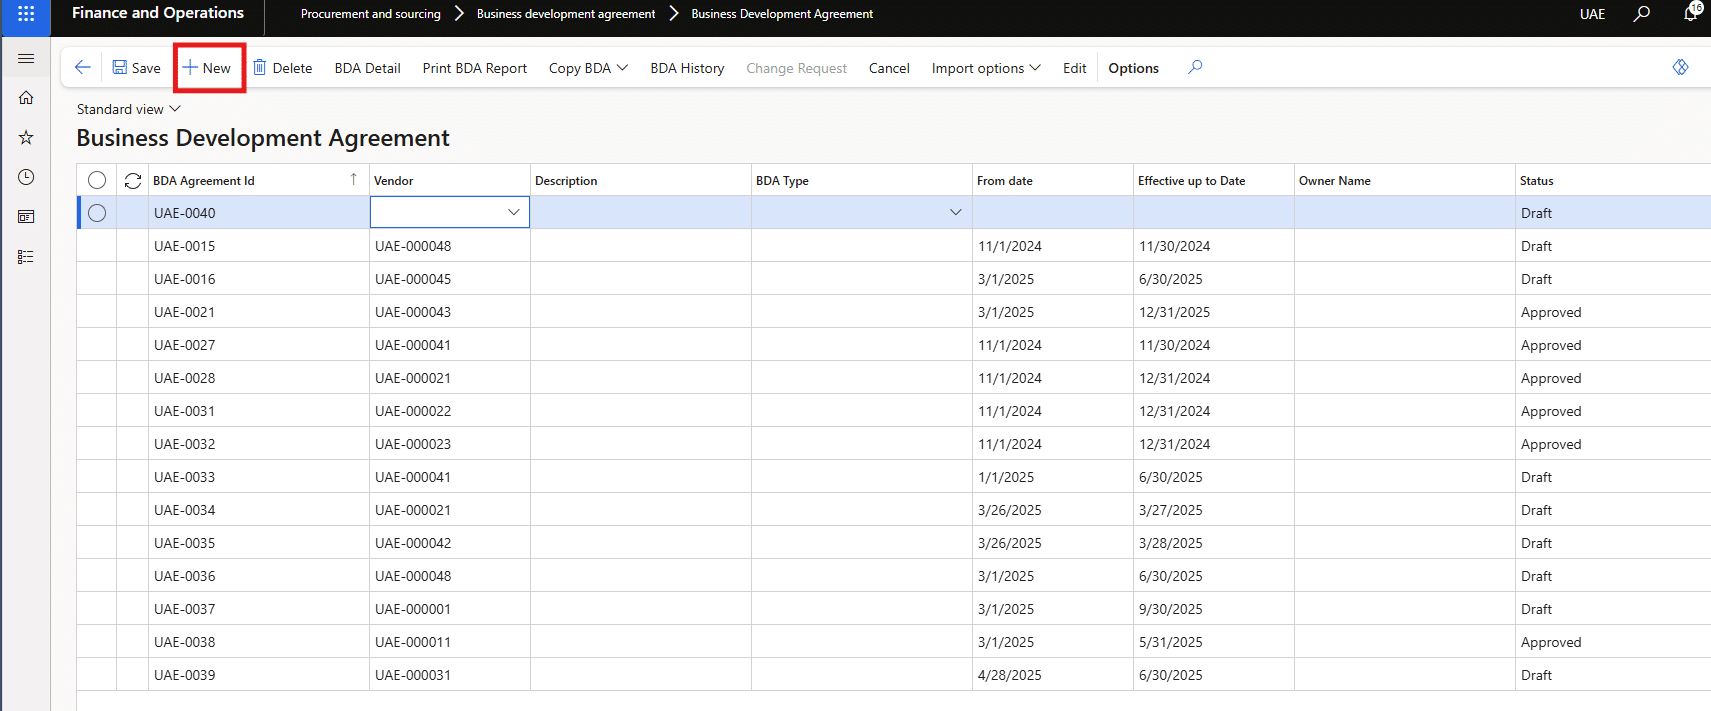
After clicking “New”, a detailed form opens to define both header-level and line-level information.
Take control of your business operations
Discover how Confiz services can simplify your complex workflows and improve decision-making.
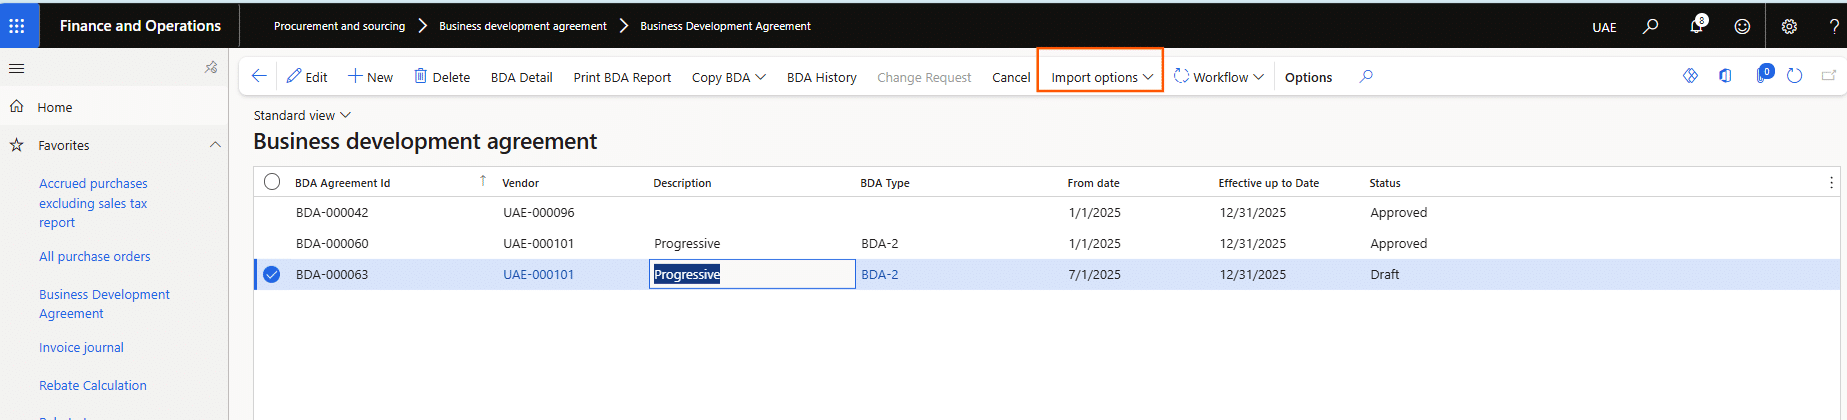
Get a Free QuoteOption 2: Getting started with BDA through bulk import
There is an option to import bulk agreements using the provided Excel template. Users can download the template, fill in the required details, and re-import it to upload all agreements at once. However, each agreement must be submitted for workflow approval to complete the process.
Follow this Navigation: Procurement and Sourcing > Business Development Agreement > BDA.

Click Import, then select Download Template.
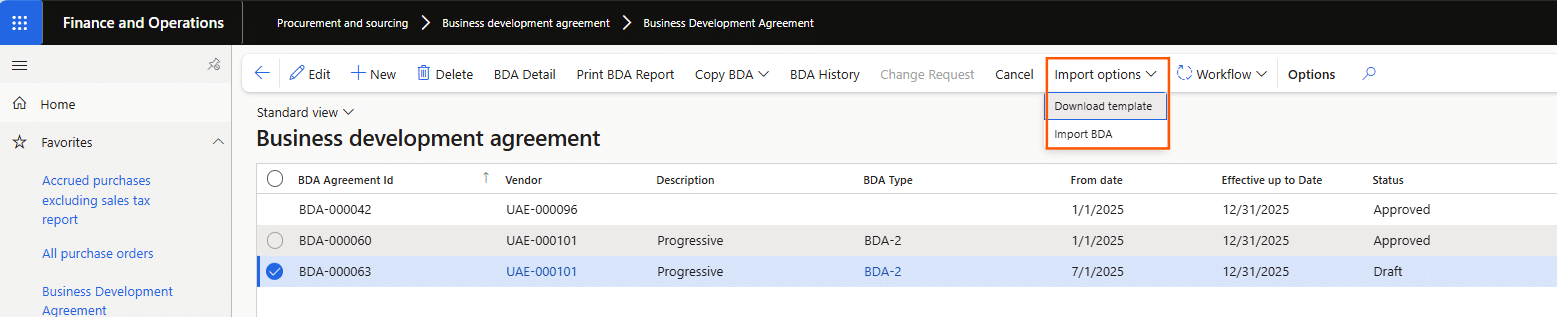
An Excel file containing the following columns will be displayed.

Fill out all the required details. 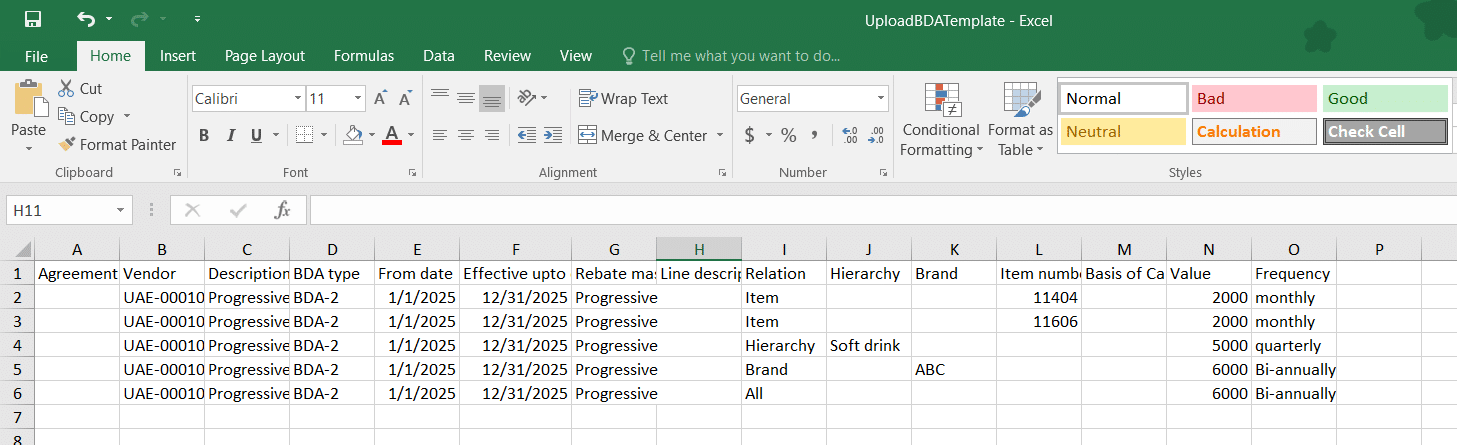
Now re-import it to upload all agreements at once by clicking this option again: Import BDA.

The agreements will be imported into Dynamics 365, eliminating the need for manual effort.
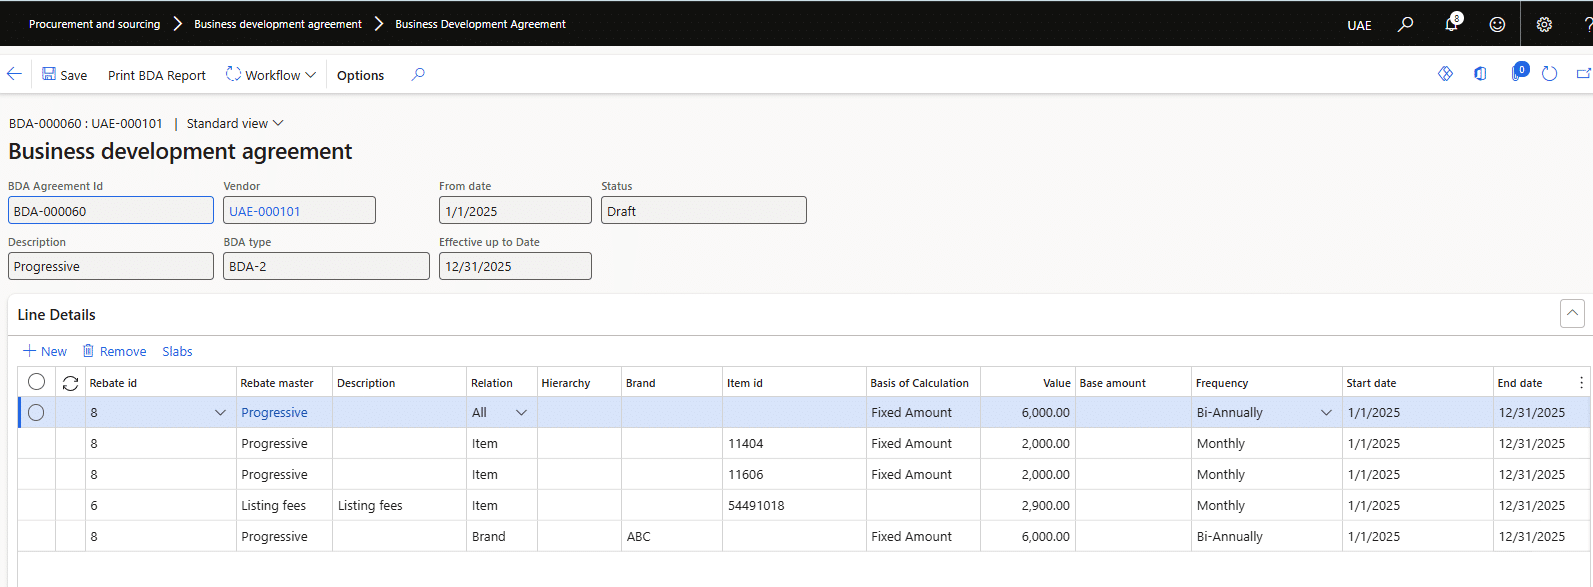
Enter the BDA detail
Once you have filled out all the details in the header, click on the BDA Detail field to go further into the agreement lines. Click on the BDA Detail.

Copy the BDA
Another field available on the BDA form is ‘Copy BDA.’ 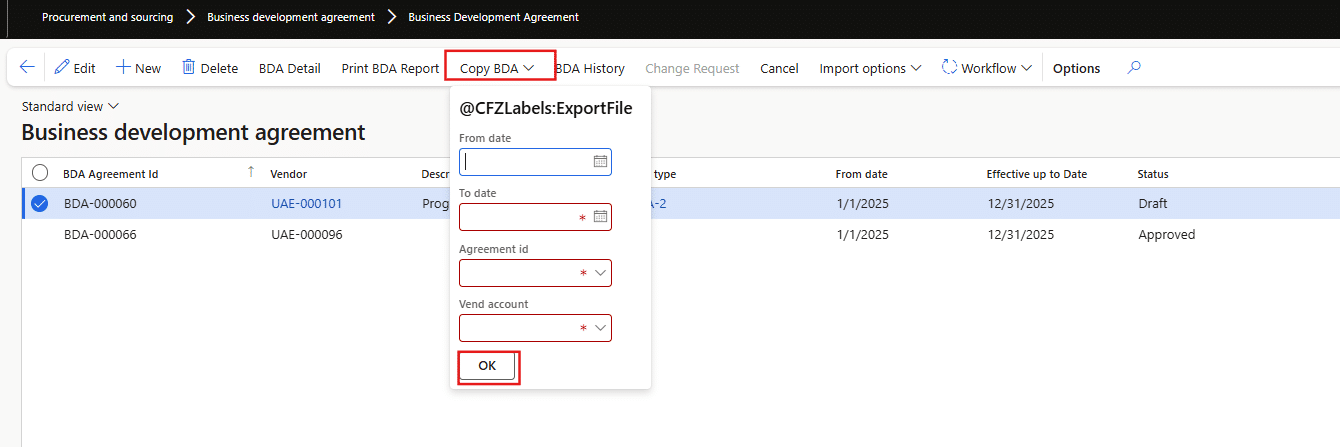 Only approved agreements are eligible for this functionality. By clicking the ‘Copy BDA’ button, all line details from the selected agreement can be copied into a new agreement, but with a different vendor and time frame. Four fields must be completed during this process.

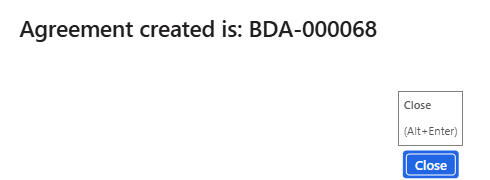
A new line will be created with a new Agreement ID, containing all the details from the copied BDA. 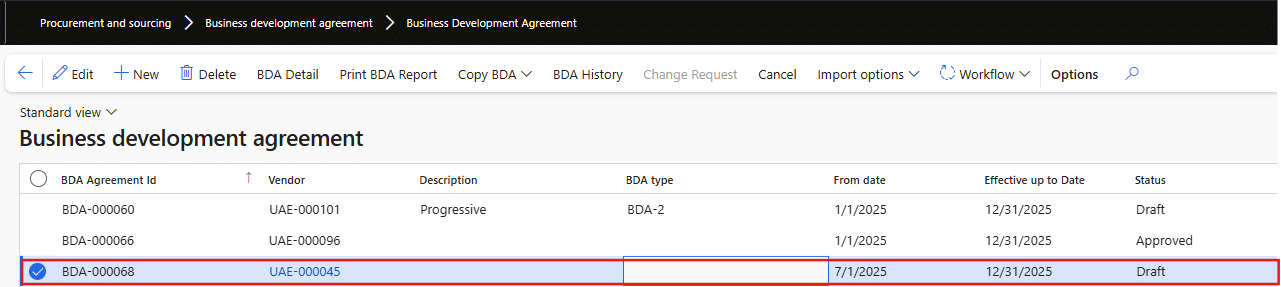 Update or edit the BDA
Another function available on the BDA form is the Change Request. 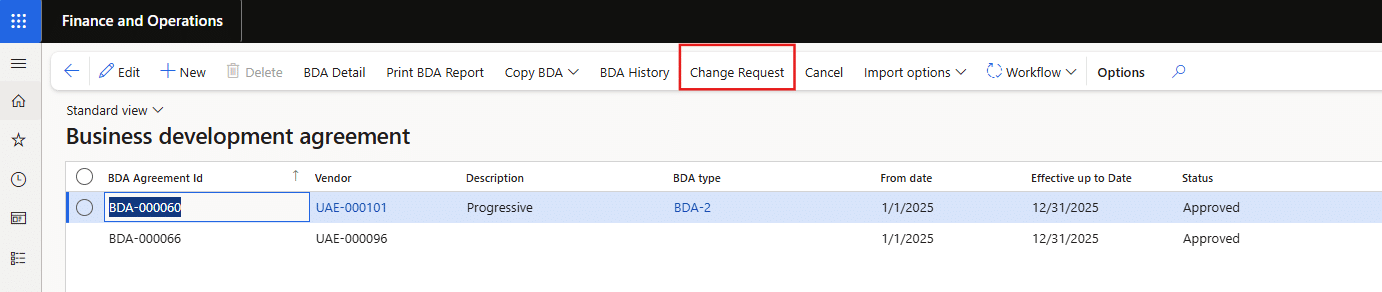
The BDA update can be implemented by clicking on the Change Request button. This action allows users to initiate modifications to an existing BDA by submitting a formal change request.
Go to the Procurement and Sourcing Module > BDA>Business Development Agreement.

You are taken to the list page where all existing BDAs are shown in a tabular view.
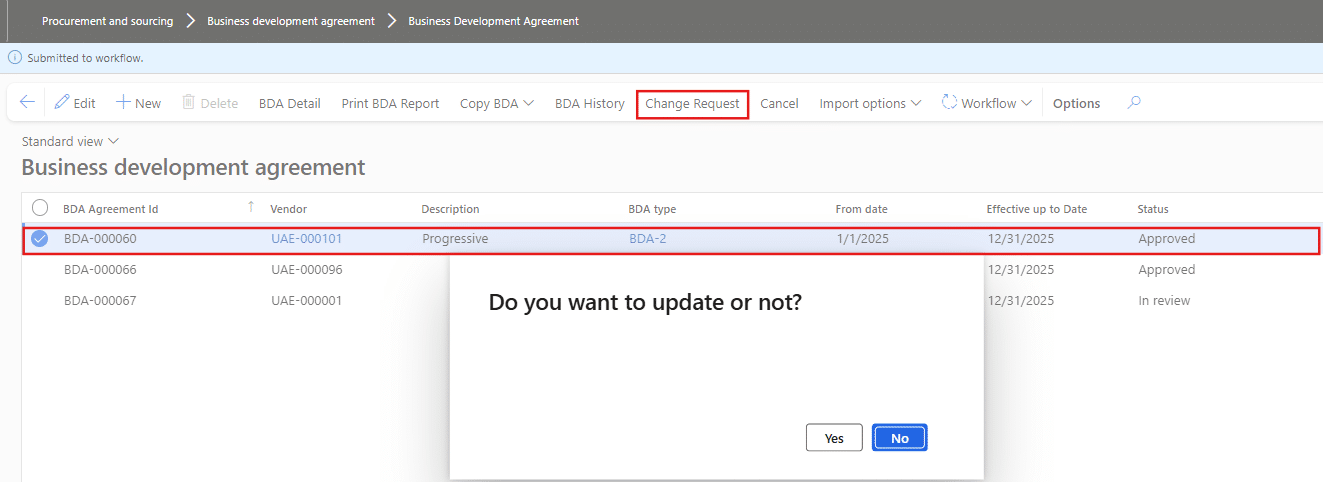
Click on the Change Request Button. The status will be changed to Draft.
After submission, the request follows an approval workflow before the changes are applied to the active BDA, ensuring traceability and control over modifications.

Click the Save button, then submit the updated version for approval via a custom workflow.
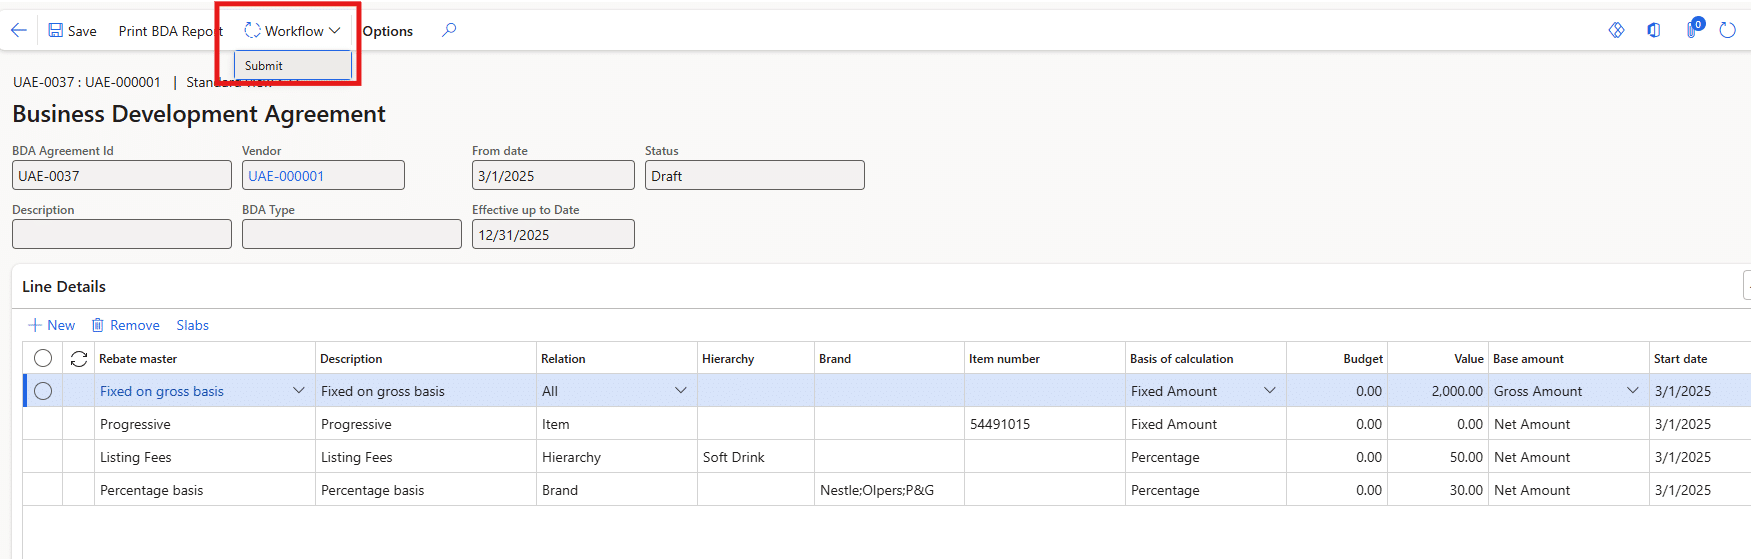
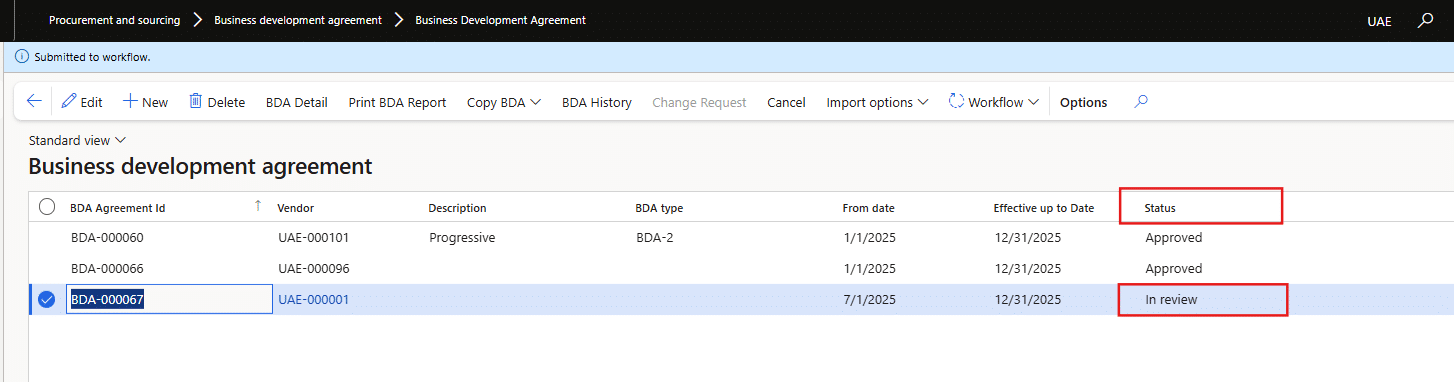
The status will first be converted into review and then finally approved.

BDA cancellation
Another function available on the BDA Form is Cancel. The BDA cancellation can be initiated by clicking the Cancel button available on the BDA header.
Go to Procurement and Sourcing Module > BDA > Business Development Agreement.
You are taken to the list page where all existing BDAs are shown in a tabular view.
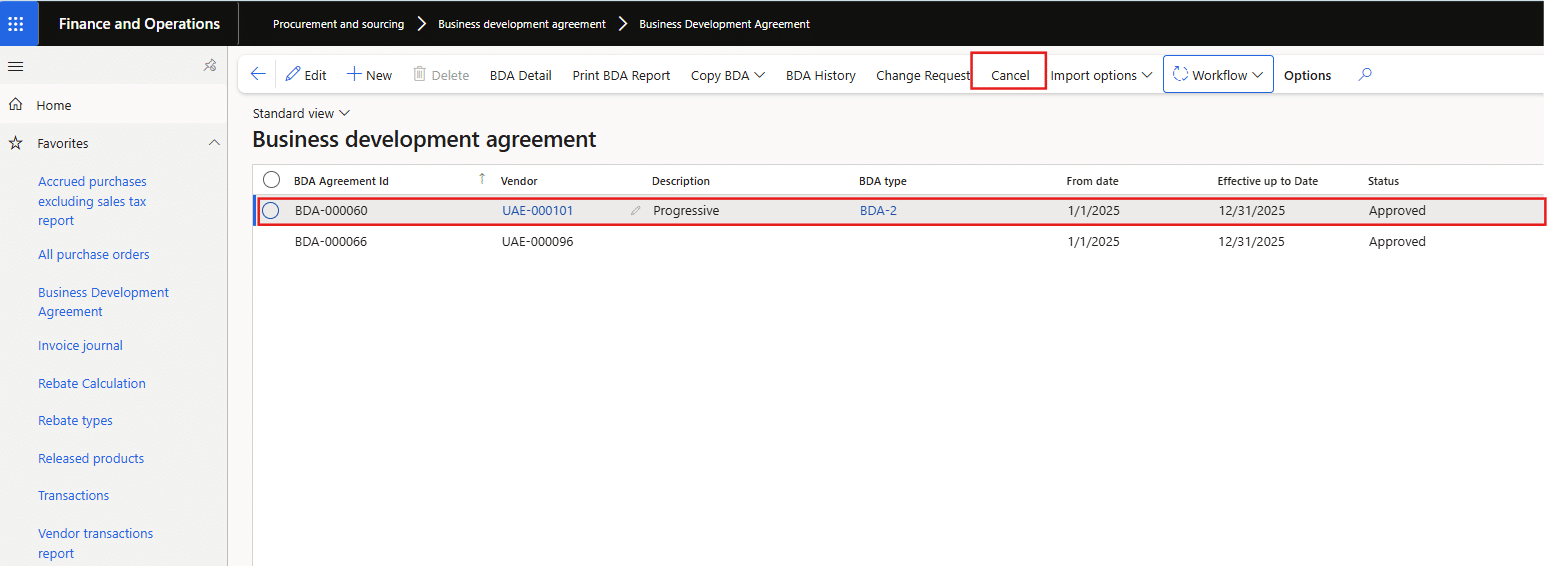 Upon cancellation, the status of the agreement is updated to reflect that it is no longer valid for further processing or rebate calculations.
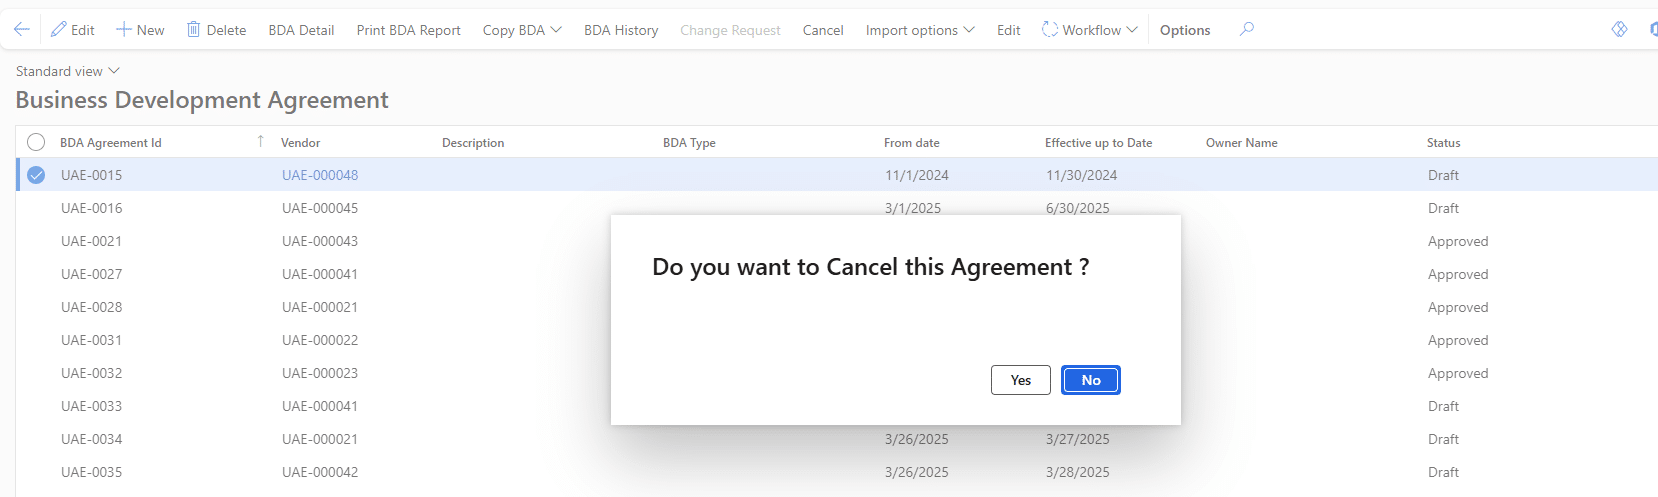
Click on Yes, and the status will be changed to cancelled.

BDA history
Another function available on the BDA form is the ‘BDA History’ button. This feature allows users to view all versions of the BDA, track how many times it has been edited, and monitor the changes associated with each version.
Go to the Procurement and Sourcing Module > BDA > Business Development Agreement.
You are taken to the list page where all existing BDAs are shown in a tabular view. Select a particular agreement. Click on BDA History.


Rebate calculation
The rebate calculation is the process by which the rebate amount is determined based on the terms of the agreement in place. After the calculation, a debit note or credit note is generated to reflect the rebate amount. This note is then reviewed in the invoice journal. A detailed step-by-step illustration is provided below to provide an in-depth understanding of how the rebate is calculated, with each navigation step clearly outlined.
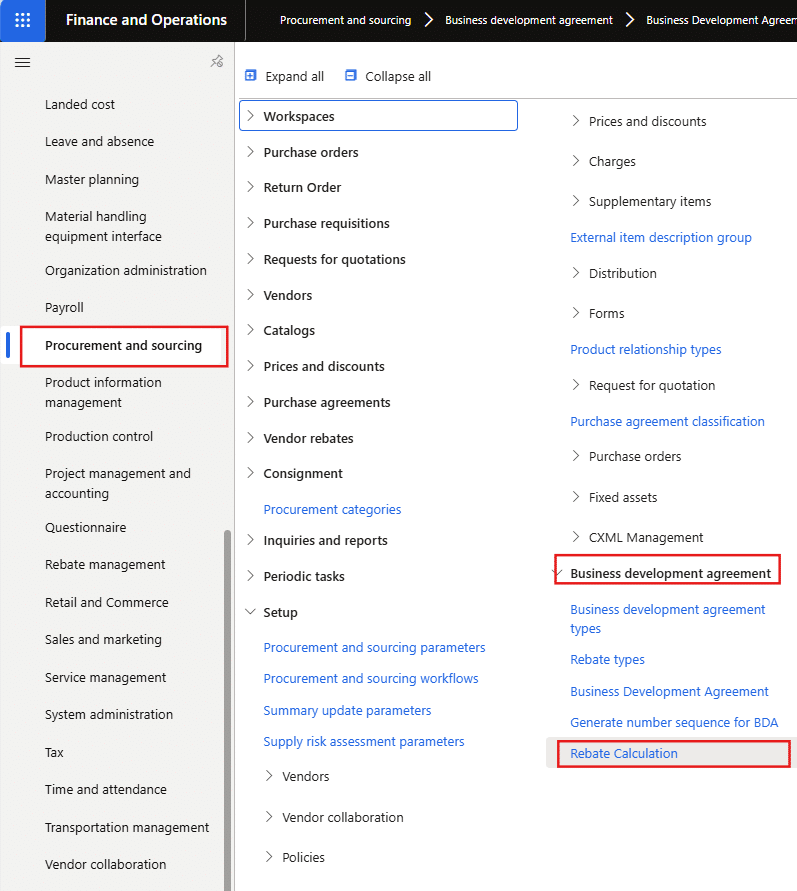
Navigation: Procurement and Sourcing Module > BDA > Rebate Calculation
Click on the New button to create a rebate calculation for an agreement previously defined on the BDA form. 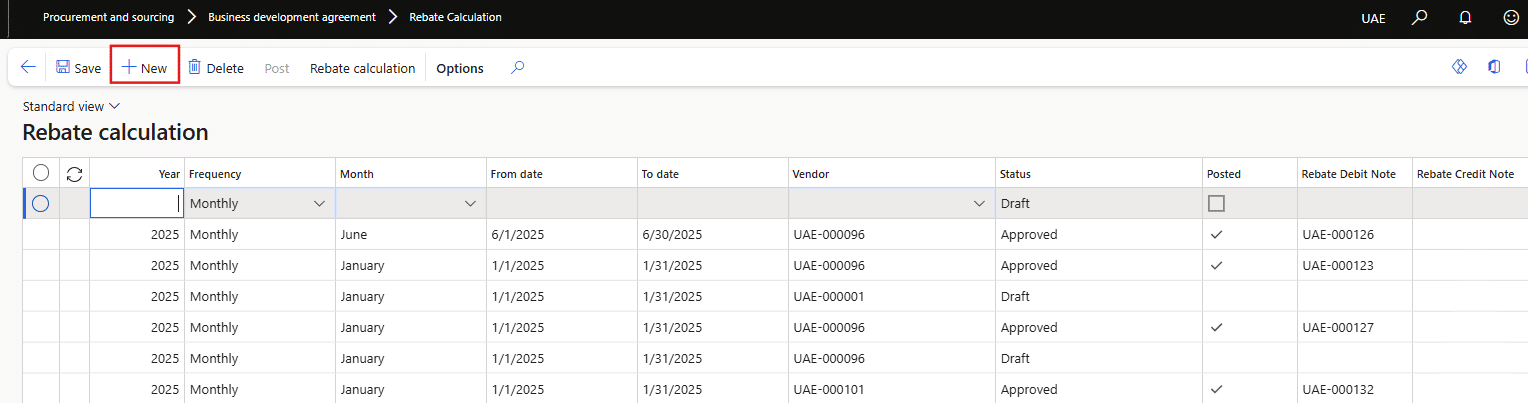
A new line will be generated with fields such as Year, Frequency, Month, Year, Date Range, and the Vendor ID associated with the created BDA.

Then click on the rebate calculation.
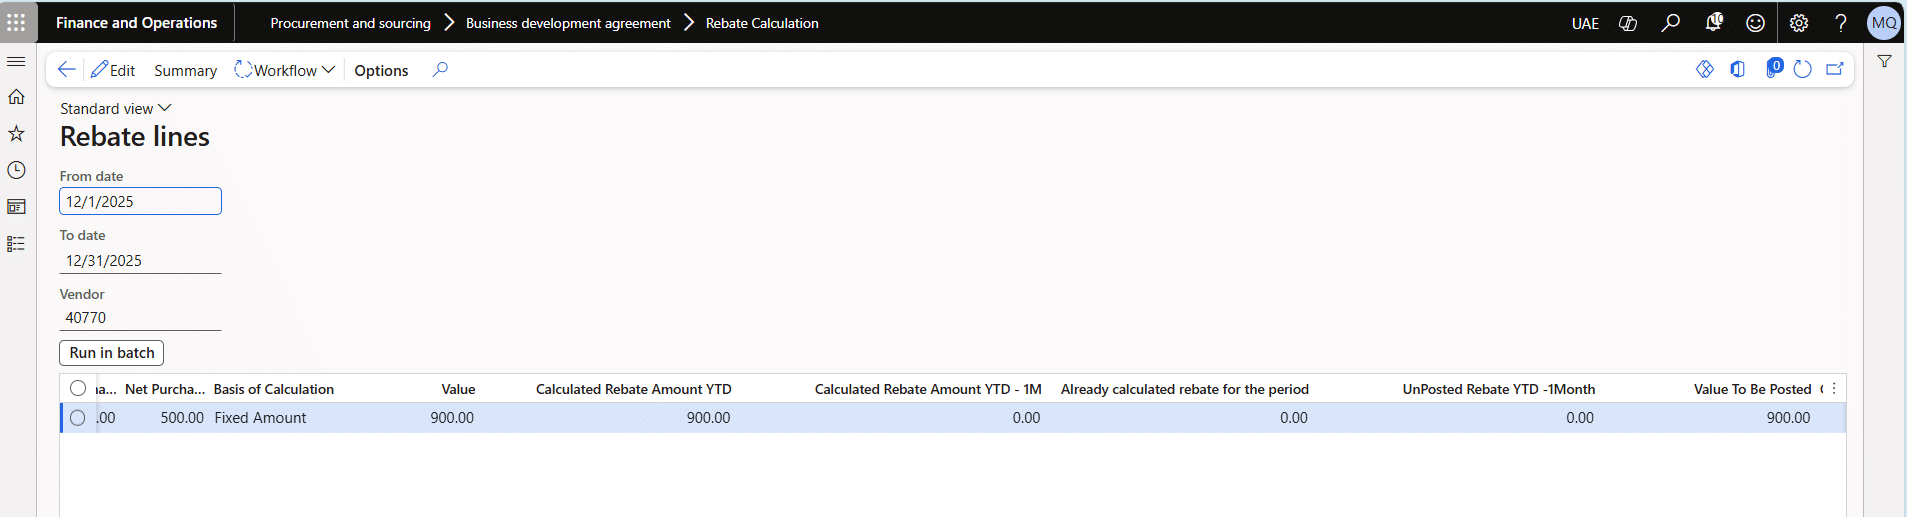
The rebate calculation form will open; click Run in Batch, and all relevant data will soon be populated in the lines containing the value to be posted for the respective period.

Based on the agreement created, once the rebate is successfully calculated, a workflow is triggered to approve the rebate calculation. Only after approval can it be posted, generating a debit or credit note in the invoice journal.
Invoice journal
Once the rebate calculation is posted, a debit or credit note is automatically generated based on the calculation and rebates as defined earlier on the source form, which can be filtered in the Invoice Journal for review.
Navigation in D365 (for reviewing the debit note): Accounts Payable > Invoices > Invoice Journal 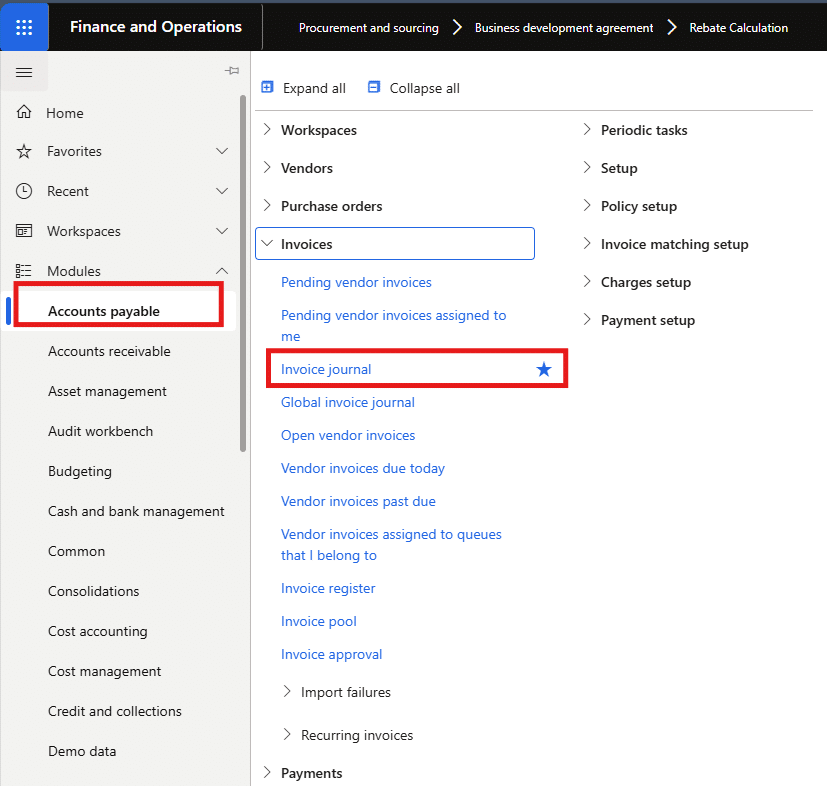
Just copy the journal batch number and filter it out in the invoice journal, so you can go through the voucher lines and validate them accordingly. The Debit note would have the journal name AP Rebate, while the credit note would have a separate journal named Supply C/N. Those journals specifically created for the rebates can be seen below.
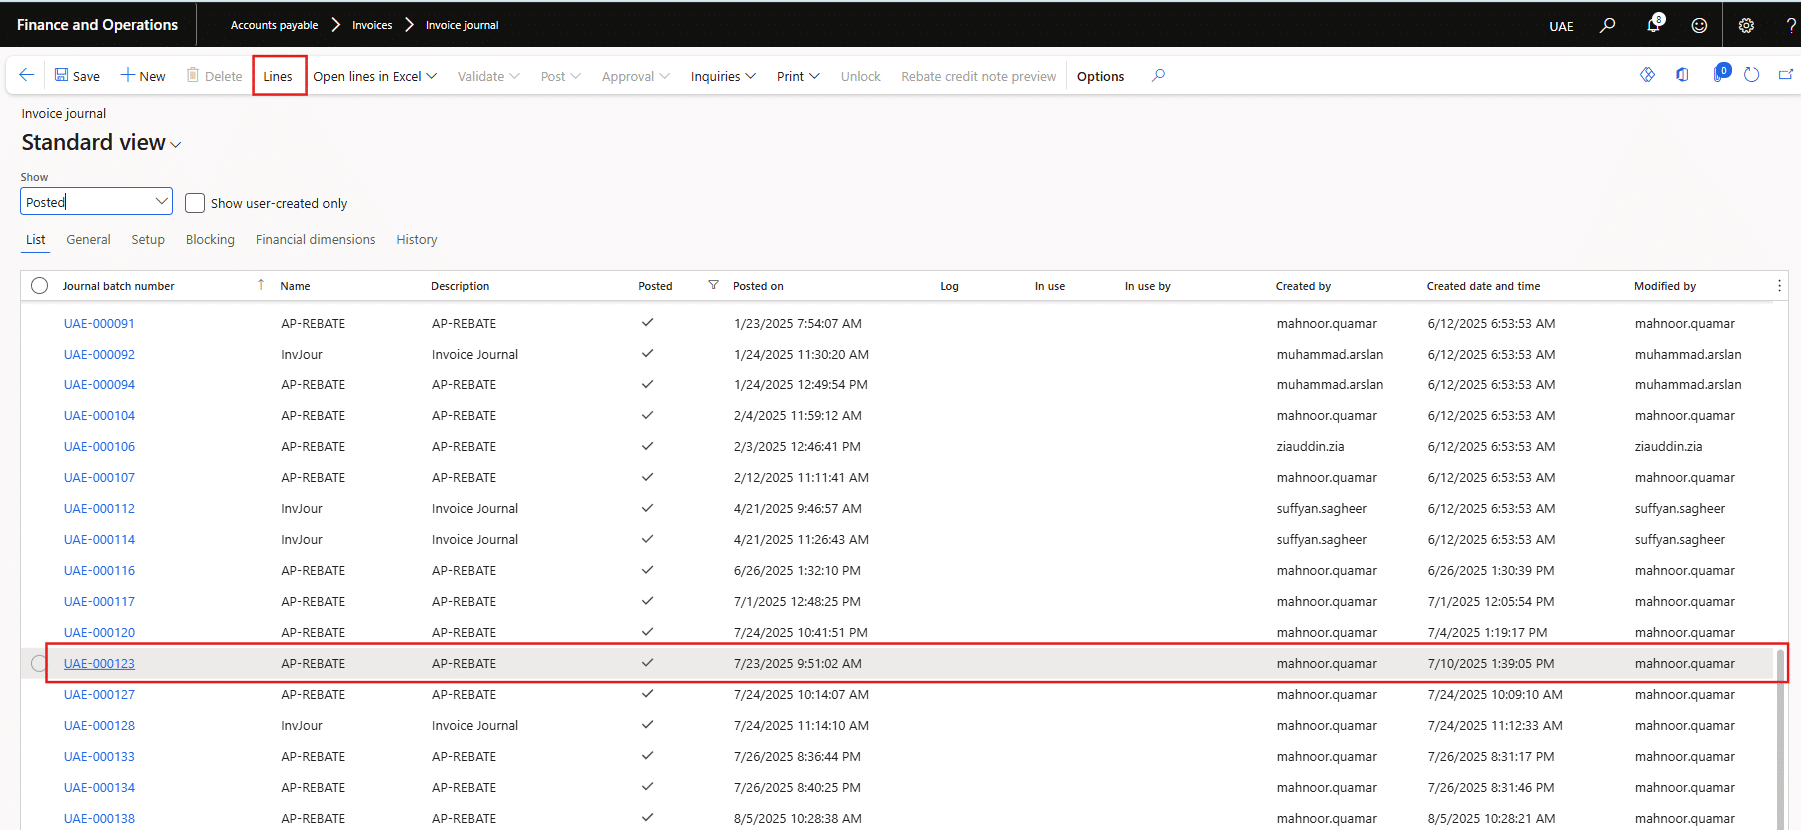
Click on the lines to review the voucher.

The accounting entry for the voucher is as follows:
Accounts payable -Debit
Rebate Expense-Credit
Sales Tax-Credit
|
Ledger account |
Account name |
Accounting |
Amount |
|
2101-202-1040-1100-0003 |
Accounts Payable (Control Account) |
Debit |
8,400.00 |
|
6356-202-2000-1040-1000 |
Rebate Expense |
Credit |
-8,000.00 |
|
1383-202-1040-2000-1000 |
Input Tax |
Credit |
-400.00 |
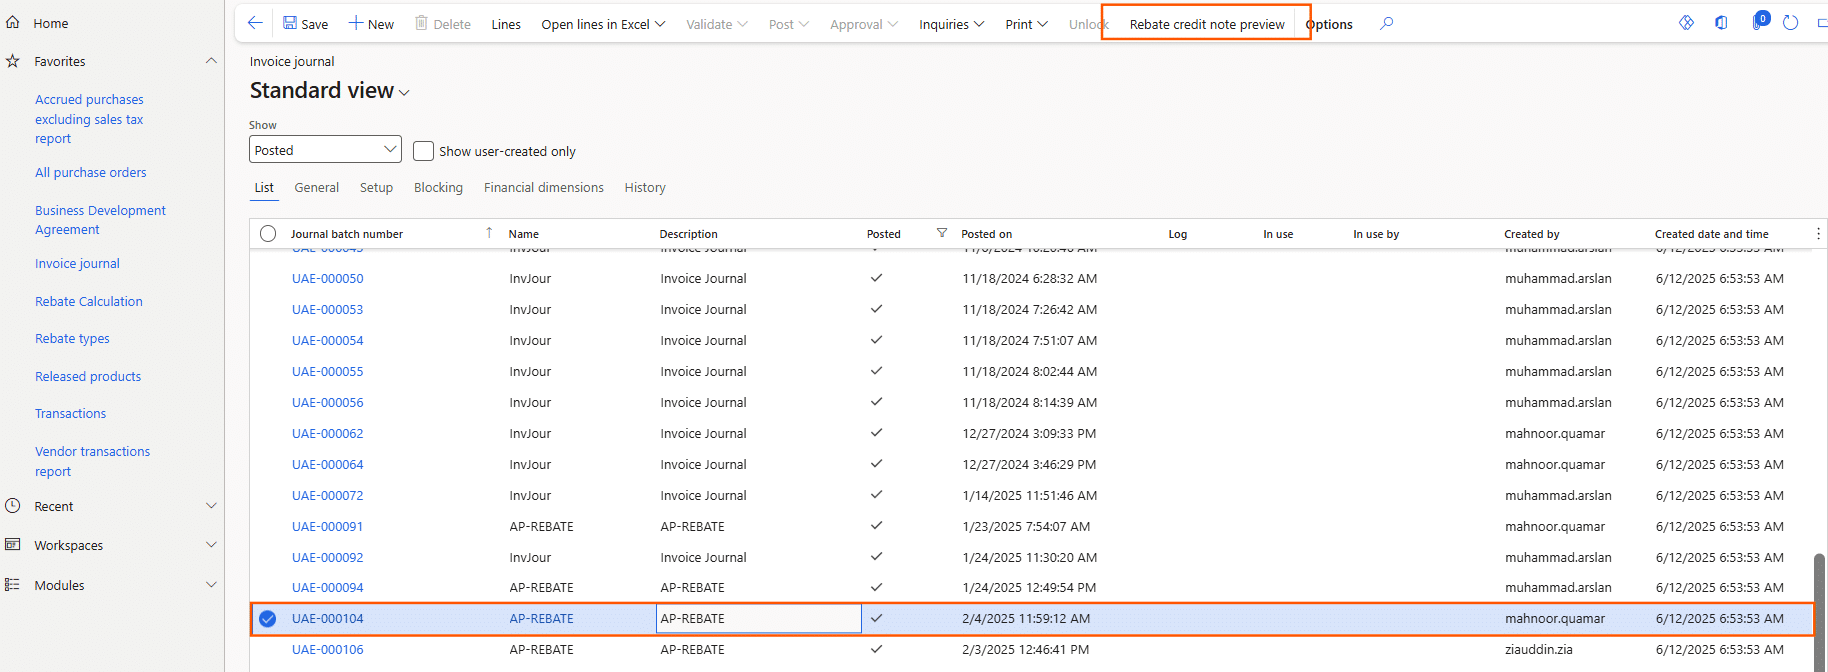
Rebate credit note report
Additionally, there is a custom-developed solution in Dynamics 365 (D365) tailored to address the reporting requirements for the defined Rebates, allowing invoices to be previewed with the applicable tax amount.
Navigation: Accounts Payable > Invoices > Invoice Journal > Posted >AP Rebate/Supply CN
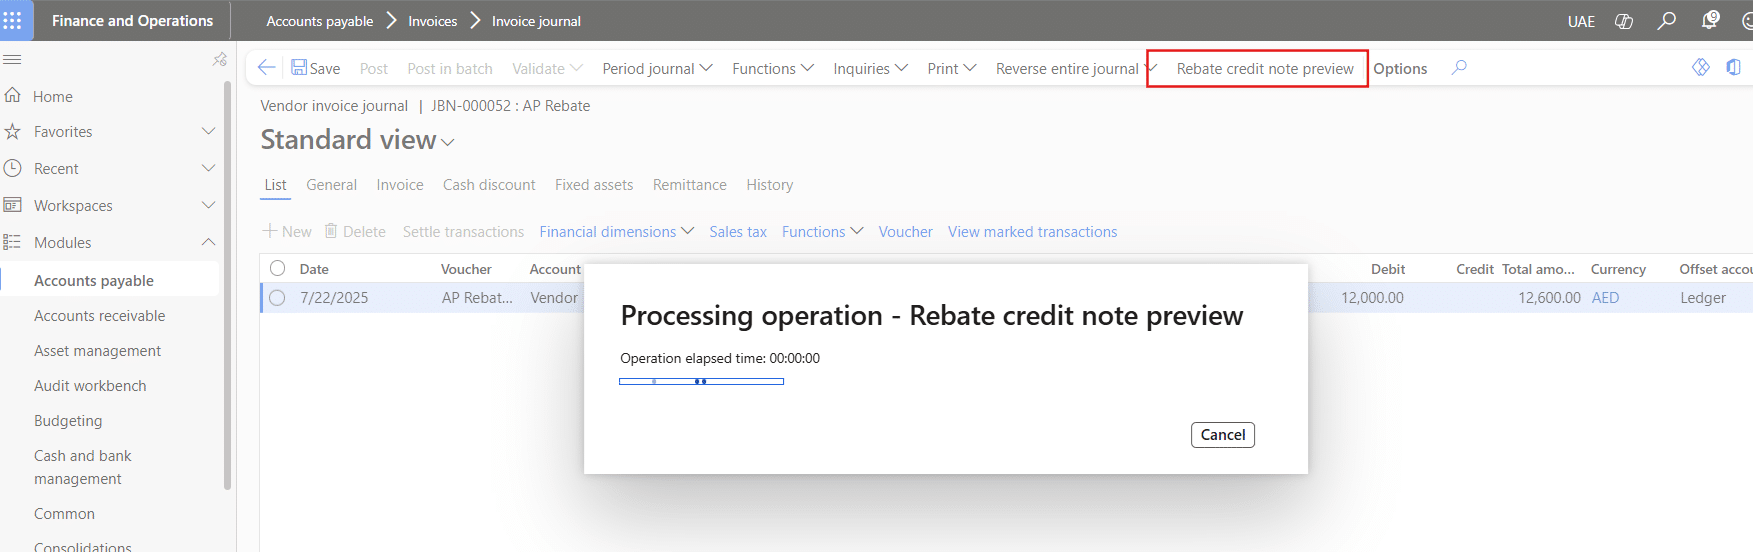
Click the specific journal batch number with the name provided for the debit and credit note. On clicking, the above menu heading of the rebate credit note preview will be enabled.
Additionally, you can view this report at the line and header levels.
Accelerate growth at an unprecedented pace
Discover how Confiz can help you take control of your daily operations, increasing growth and revenue.
Book a Free ConsultationConclusion
Implementing BDAs in Dynamics 365 provides a structured, efficient way to manage complex vendor agreements and rebate programs. From creation to rebate calculation and reporting, every step strengthens visibility and control across procurement processes. For expert assistance or to learn how Confiz can help optimize your Dynamics 365 setup, contact us at marketing@confiz.com.