Confiz Logo

How to power automate Microsoft Forms for sending invitations

February 27, 2022

Subscribe to the newsletter

Businesses can automate Microsoft Forms using Microsoft Power Automate by creating a flow that automatically performs one or more tasks when triggered by an action or an event.  

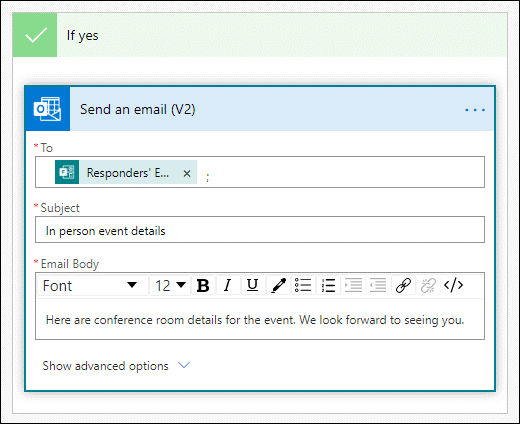
In this post, you will look at how one can automate sending invitations to people planning to attend an event online along with people planning to attend the same event in person. you will start by creating a simple survey in Microsoft Forms and then use Power Automate to automatically send different invitations to people based on their preferences. The online meeting links will be sent to people willing to join remotely and the physical address will be sent to people preferring to join in person.  

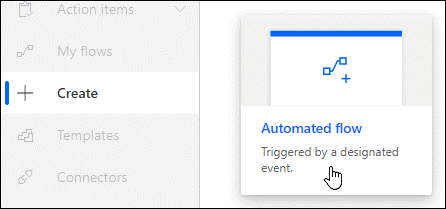
We can start by going to Microsoft Power Automate, selecting + Create > Automated Flow.

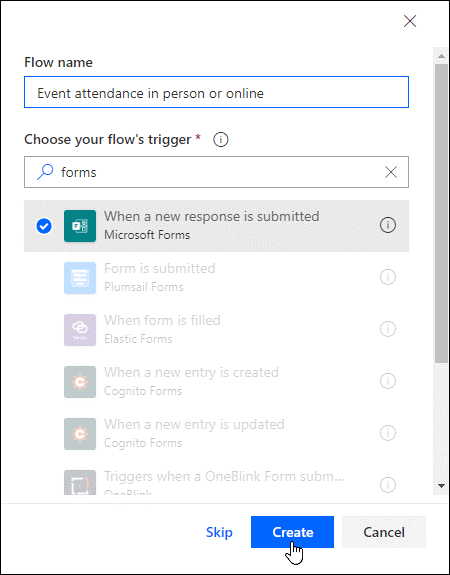
  1. In the Flow name box, you will give your flow a name. If you do not want to do that, the system will generate one for you.  
  2. There will be a search box under the Flow Name box and it will be titled, Choose your flow’s trigger. you will use it to type forms and select the When a new response is submitted option when it appears in the search results. With that selected, you will click on the Create button.
  1. You will then click or tap under the Form id section to see a list of the forms that you have previously created and select the name of the form you intend to use.  
  1. Next, you will select + New step and in the search box under Choose an action, you will type forms.
  1. Just beside the Triggers tab you will find the Actions tab. you will click on it and then select the Get response details option.
  2. Then you will find the familiar Form id box. you will click or tap in the search box to view the list of forms you have previously created. Here again, you will repeat the same process and select the name of the form you intend to use.  
  3. Under the Response id section, you will click or tap in the search box, and then select the Response Id.
  4. Next, you will select + New step and then click in the Search connectors and actions search box that is located under the Choose an action section. Here you will select Condition in the Actions tab.
  1. You will then proceed to the Choose a value search box, where you will select the question, you want to use to determine the particular email you intend to send. In this example, you will select Will you join this event in person?
  2. There will be a dropdown list next to Will you join this event in person? Option. Here you will select is equal to.
  3. There will be a Choose a value search box just next to is equal to and here you will type Yes.
  4. In the next If yes section, you will select Add an action.
  5. Then you will click on the Search connectors and actions search box located under Choose an action, and type email.
  1. Here in the Actions tab, you will select Send an email (V2) and it will reveal three new boxes titled, ToSubject and Email Body.
  2. In the To field you will select Responders’ Email.
  1. Then in the Subject section, you will author the email subject just like you do with your usual emails and then add the email text in the Email Body area.
  2. In the next If no section, you will select Add an action and follow the same instructions as in steps 12 through 15.
  3. You will then select Save to make sure you do not lose anything in the flow you have just created.

There will be a Test box located in the upper right corner of your page and you can select it to test your recently created automated flow.  

These were the steps of using Power Automate to automate Microsoft Forms. We hope they were helpful to you.