Creating custom workspaces in Microsoft Dynamics 365 for Finance and Operations allows users to tailor their experience to meet specific business needs. Workspaces provide a centralized hub where users can access relevant data, actions, and reports.
In this blog, we’ll explore custom workspaces in Dynamics 365 Finance and Operations, their benefits, and provide a step-by-step guide to help you get started.
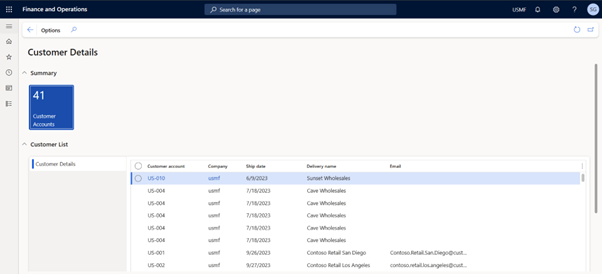
What are custom workspaces in Dynamics 365 Finance and Operations?
Custom workspaces in Dynamics 365 Finance and Operations are personalized dashboards that allow users to access key data, tasks, and reports in one place. They enhance productivity by consolidating relevant information, streamlining workflows, and reducing navigation time. Users can customize these workspaces with specific tiles, lists, and charts to match their roles and business needs, improving efficiency and decision-making.
What are the benefits of using custom workspaces?
Using custom workspaces in Dynamics 365 Finance and Operations (D365 F&O) offers several benefits, including improved efficiency, personalized user experience, and better data accessibility. Here are the key advantages:
- Boosts productivity: Centralized access to essential tools, reducing navigation time.
- Personalized experience: Customizable for individual roles with quick access features.
- Faster decisions: Real-time KPIs and Microsoft Power BI integration for better insights.
- Efficient workflows: Automates task-specific functions and direct-action execution.
- Simplifies training: Easier navigation reduces reliance on IT support.
- Better data visibility: Quick access to critical data and analytics.
- Seamless integration: Connects with Excel, Power BI, and Power Automate for enhanced collaboration.
Steps to create a custom workspace in Dynamics 365 Finance and Operations
1: Enable personalization
Ensure that personalization is enabled for the environment:
- Navigate to System Administration > Setup > Personalization.
- Ensure the required users have the Manage and Save permissions.
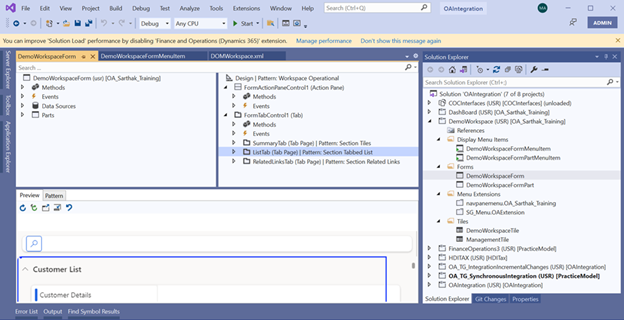
2: Create a new workspace
- Navigate to the dashboard (home page).
- Click the Personalize this page option (usually under the gear icon).
- Select Add a workspace.
- A new, empty workspace will be created.
3: Configure the workspace
Rename the workspace
- Right-click on the new workspace’s title.
- Select Personalize and enter a custom name.
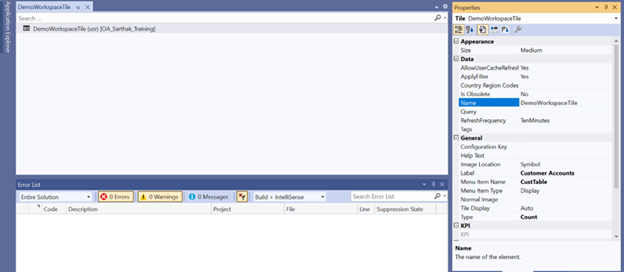
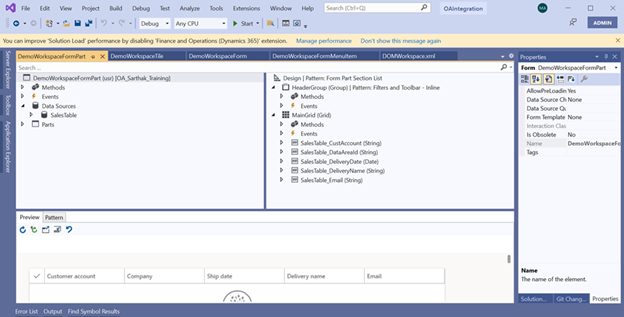
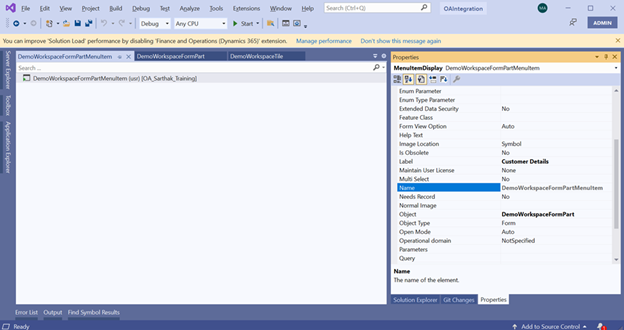
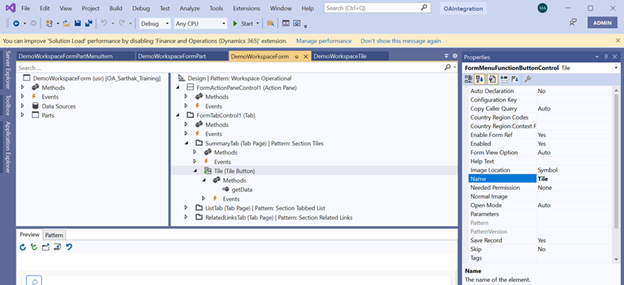
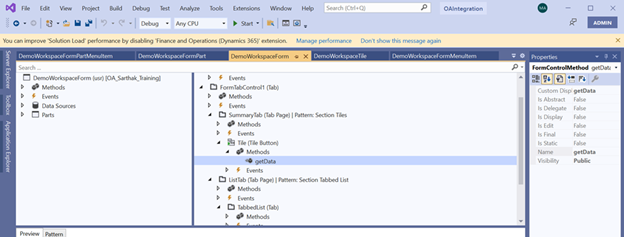
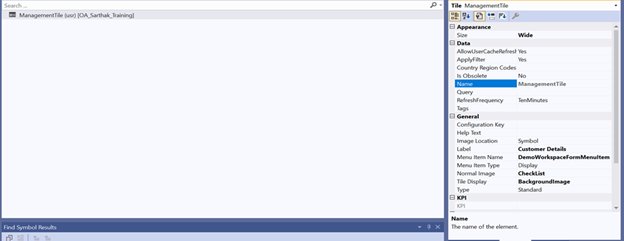
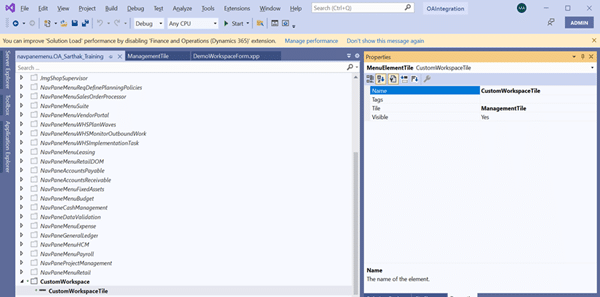
Add tiles, lists, and links
- Open a relevant form or list page.
- Click on the Options tab in the top menu.
- Select Add to workspace and choose the target workspace.
- Define the tile type (count tile, direct link, etc.).
- Configure the display properties.
Add Power BI Reports (Optional)
- If Power BI is embedded, you can add a Power BI dashboard to the workspace.
- Navigate to System Administration > Setup > Power BI.
- Enable and configure the necessary reports.
4: Save and publish
- Once customized, the workspace is available on the dashboard.
- Users can reset their workspace if needed by removing personalization.